Monday, October 14, 2013

Stenciled and Dipped Leg Table

Hey there!! Hope you all had a wonderful weekend! Before I get into the table I worked on over the weekend, I'd like to say a quick thanks to everyone who linked up to our Fall Decor party! That was a first for me, co-hosting a party, and it was tons of fun! I'm still working through all of the links, so if you haven't seen a comment from me, I promise you will! 

This weekend I worked on redoing a table I brought home from my booth because it's been sitting awhile. Here's the best before picture I could find. This was after it got sanded, but you can tell by the front leg, I originally painted it in a very distressed coat of milk paint. I think, perhaps, it was just a bit too distressed for most people's liking - including my own. 


Because of it's glossy finish, I painted on two coats of primer and 3 coats of homemade chalk paint in Parchment White just to be safe.


Then using a very pale blue, I stenciled the top and dipped the legs. I really love the subtleness of the blue! The perfect pop of light color!


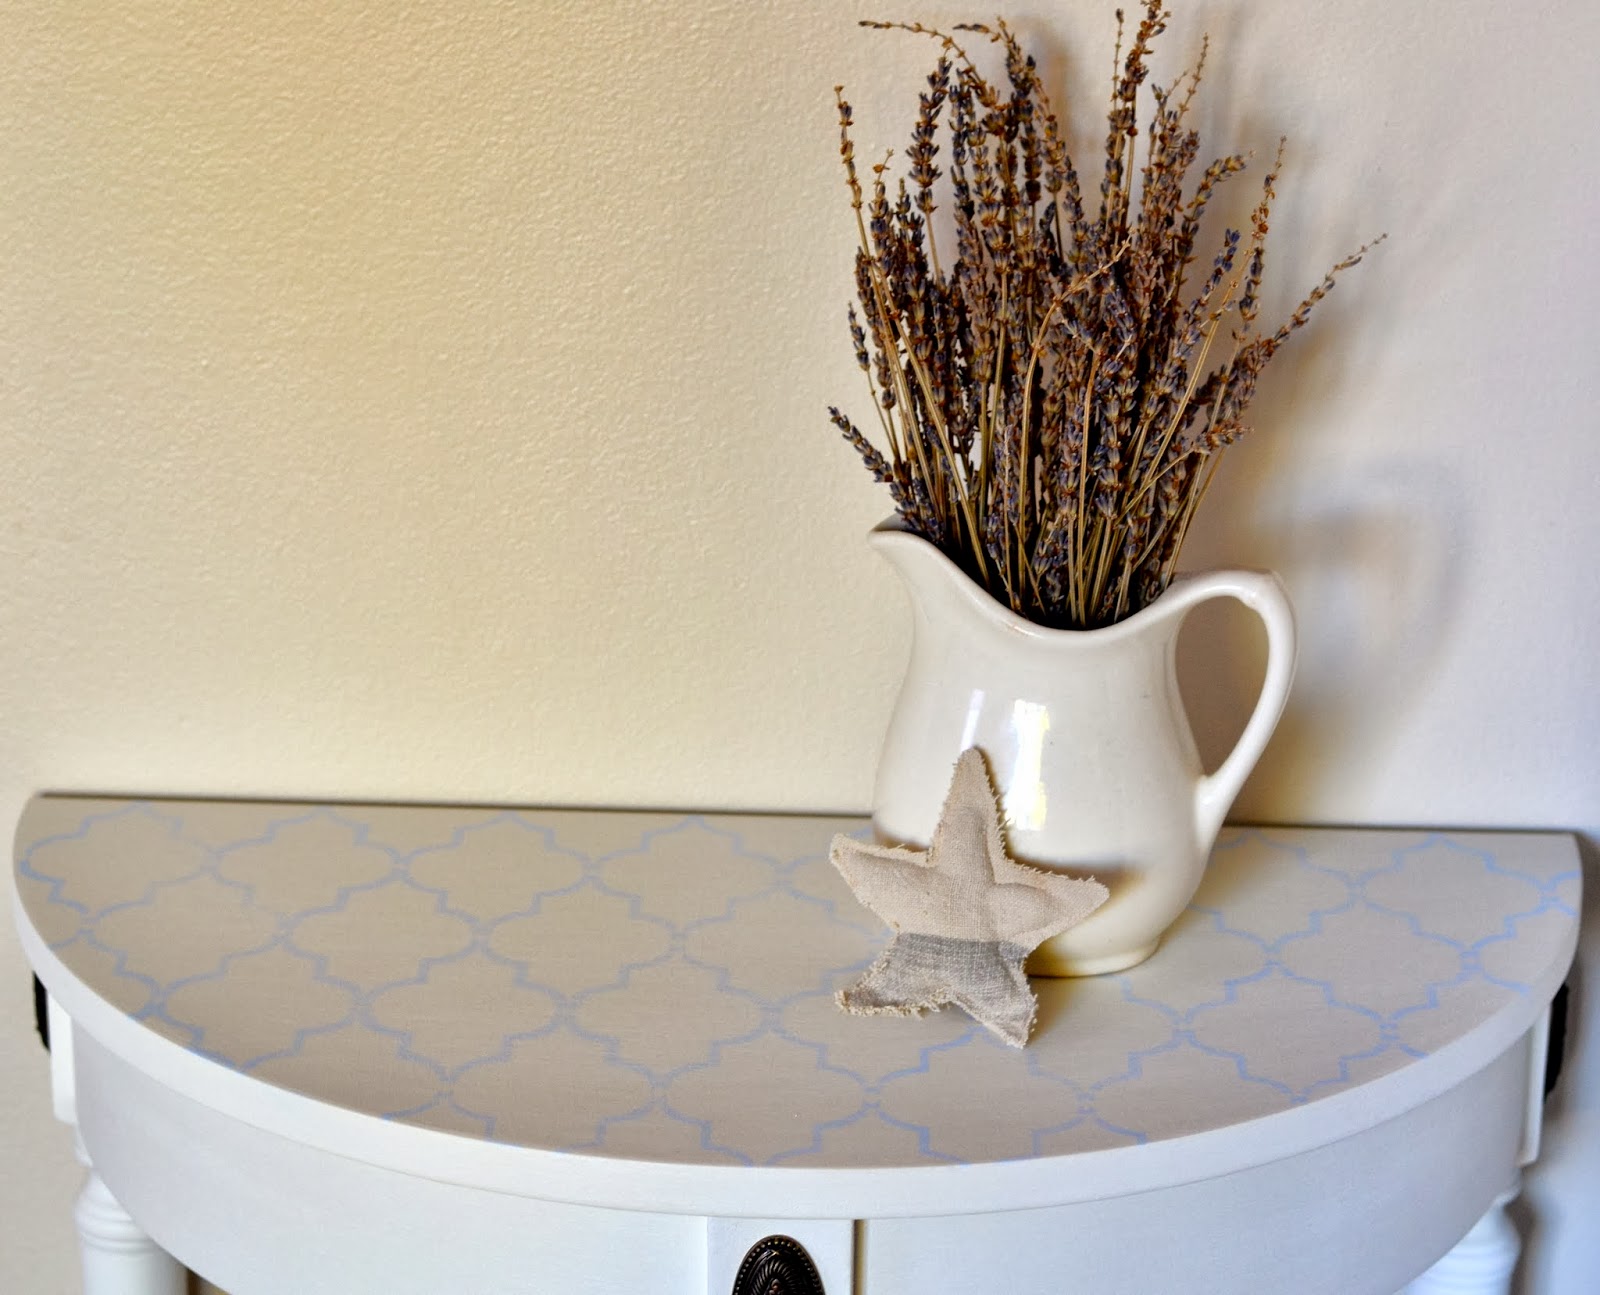


And now back to my booth it goes! :)

I'm linking to the parties listed HERE and to:

Monday, October 7, 2013

Striped Table Redo

I found this little table over the summer at Salvation Army. 

(Sorry, crappy cell phone pic)


The table has great bones, but the finish was ugly and outdated. I thought because of the glossy finish, it might be the perfect table to try out some homemade chalk paint for the very first time. I know, I'm so late to the chalk paint game - I'm not really sure why I waited so long! 

I used baking soda because I already had it on hand! 1 cup of latex paint in Parchment White and 1/4 cup baking soda mixed well. 

I gave it three coats for really great coverage and decided on stripes for the top. 


Once I had the tape in place for the stripes I did one more coat of my base color to help get crisp lines with no bleeding. I discovered that handy little tip HERE


 Followed by two coats of gray. 


After a small bit of distressing here's the table now!


I am very happy with the results of the chalk paint and plan to use it again soon! 

P.S. There's still time to link up your Fall Decor!! Head over to the party now!!!

I'm linking to the parties listed HERE and to:


Thursday, October 3, 2013

Fall Decor Link Party

Hello!! Today is the day to start linking up your fall posts! But first, let me share what my co-hosts and myself came up with for our fall decor! Our goal was to incorporate vintage or repurposed items! So fun!


Melissa - Shabby Love


Kim – Exquisitely Unremarkable 


Jenna – Rain on a Tin Roof


Audra – 
Keepin Up with the Jahns


Please click on any of the above photos to be taken to each blog to see more of our fall decor! 

Now it's your turn to link up your Fall inspired post! If you've never linked up, here's how it works:

Scroll down until you see the little blue "Add Your Link" button. Click that and follow the instructions on the page you're redirected to. The instructions involve uploading a thumbnail image and creating a title for the image you're using. Note: Make sure to link to your Fall Post, not to the main page of your blog. 

Please be sure to follow your hosts and visit a few links before you go! Can't wait to see what you share!!